Step-by-Step BioProof-ID™ for Financial Student Aid (Article)
These steps go through an electronic photo-ID check with a mobile device,
as part of the BioSig-ID™ enrollment process for financial student aid.
You will need one of the following forms of ID:
- Passport
- State ID
- Millitary ID ( submitted as a passport )

Your document must be unexpired. We do not accept paper temporary documents.
 All images must be taken live at the time of submission. If you are not comfortable submitting your documents online, you should contact the Financial Aid Office to coordinate in person verification.
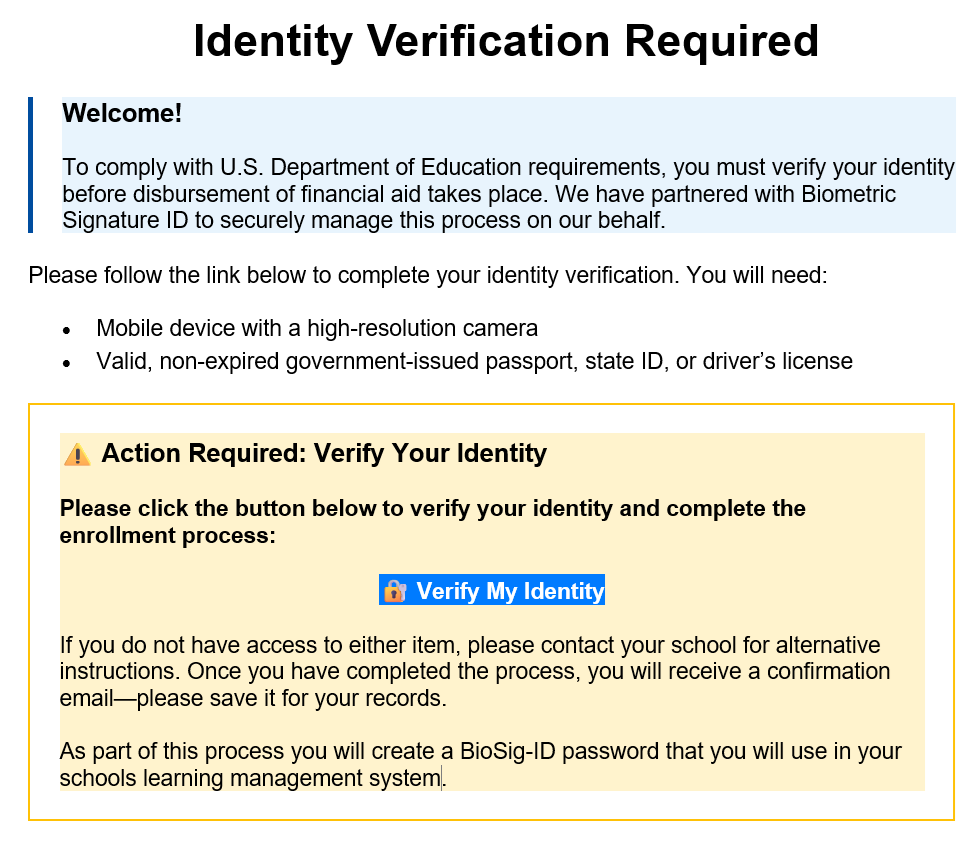
Step 1: BSI will send you an email.
Emails will come from "no-reply@biosig-id.com" with "Identity Verification" in the subject line.
This email will be sent to your primary school email address and a secondary personal email address when available.
To continue click “Verify My Identity”.
Step 2. BioSig-ID™ Enrollment.
Your browser will open and you will begin the BioSig-ID enrollment process by selecting your device.

After each step, click the next button to continue.
Step 3: Create your password.
Read and confirm the step-by-step guide, then write your 4 character BioSig-ID password.
Step 3: Repeat your password.
The first password is always accepted. Do your best to replicate how you wrote your password on the first attempt.
 IMPORTANT: If you are having a difficult time writing the same
characters, again try
using the `Restart` button to start over. If you are struggling to draw curved shapes, we recommend characters like `X` or `7`. Remember, it's how you write that matters, not what it looks like. Your lines do not need to look identical.
IMPORTANT: If you are having a difficult time writing the same
characters, again try
using the `Restart` button to start over. If you are struggling to draw curved shapes, we recommend characters like `X` or `7`. Remember, it's how you write that matters, not what it looks like. Your lines do not need to look identical.Step 4: Repeat your password again.
To complete creating a proper biometric profile, write your password a third time
Step 5: Enroll your Click-ID
Now, it is time to create a secondary profile with Click-ID™.
Review the instructions.
Step 6: Create your Click-ID
This is not an actual keyboard, but an image of one to make it
easier to remember what points you click on.
You can use the same password as your BioSig-ID, or something new.
Remember, where you click matters.
Step 7: Repeat your Click-ID
The first step is always accepted, and now it is important to create it again as close as possible
Step 8: Repeat your Click-ID, again.
Once more enter your Click-ID™.
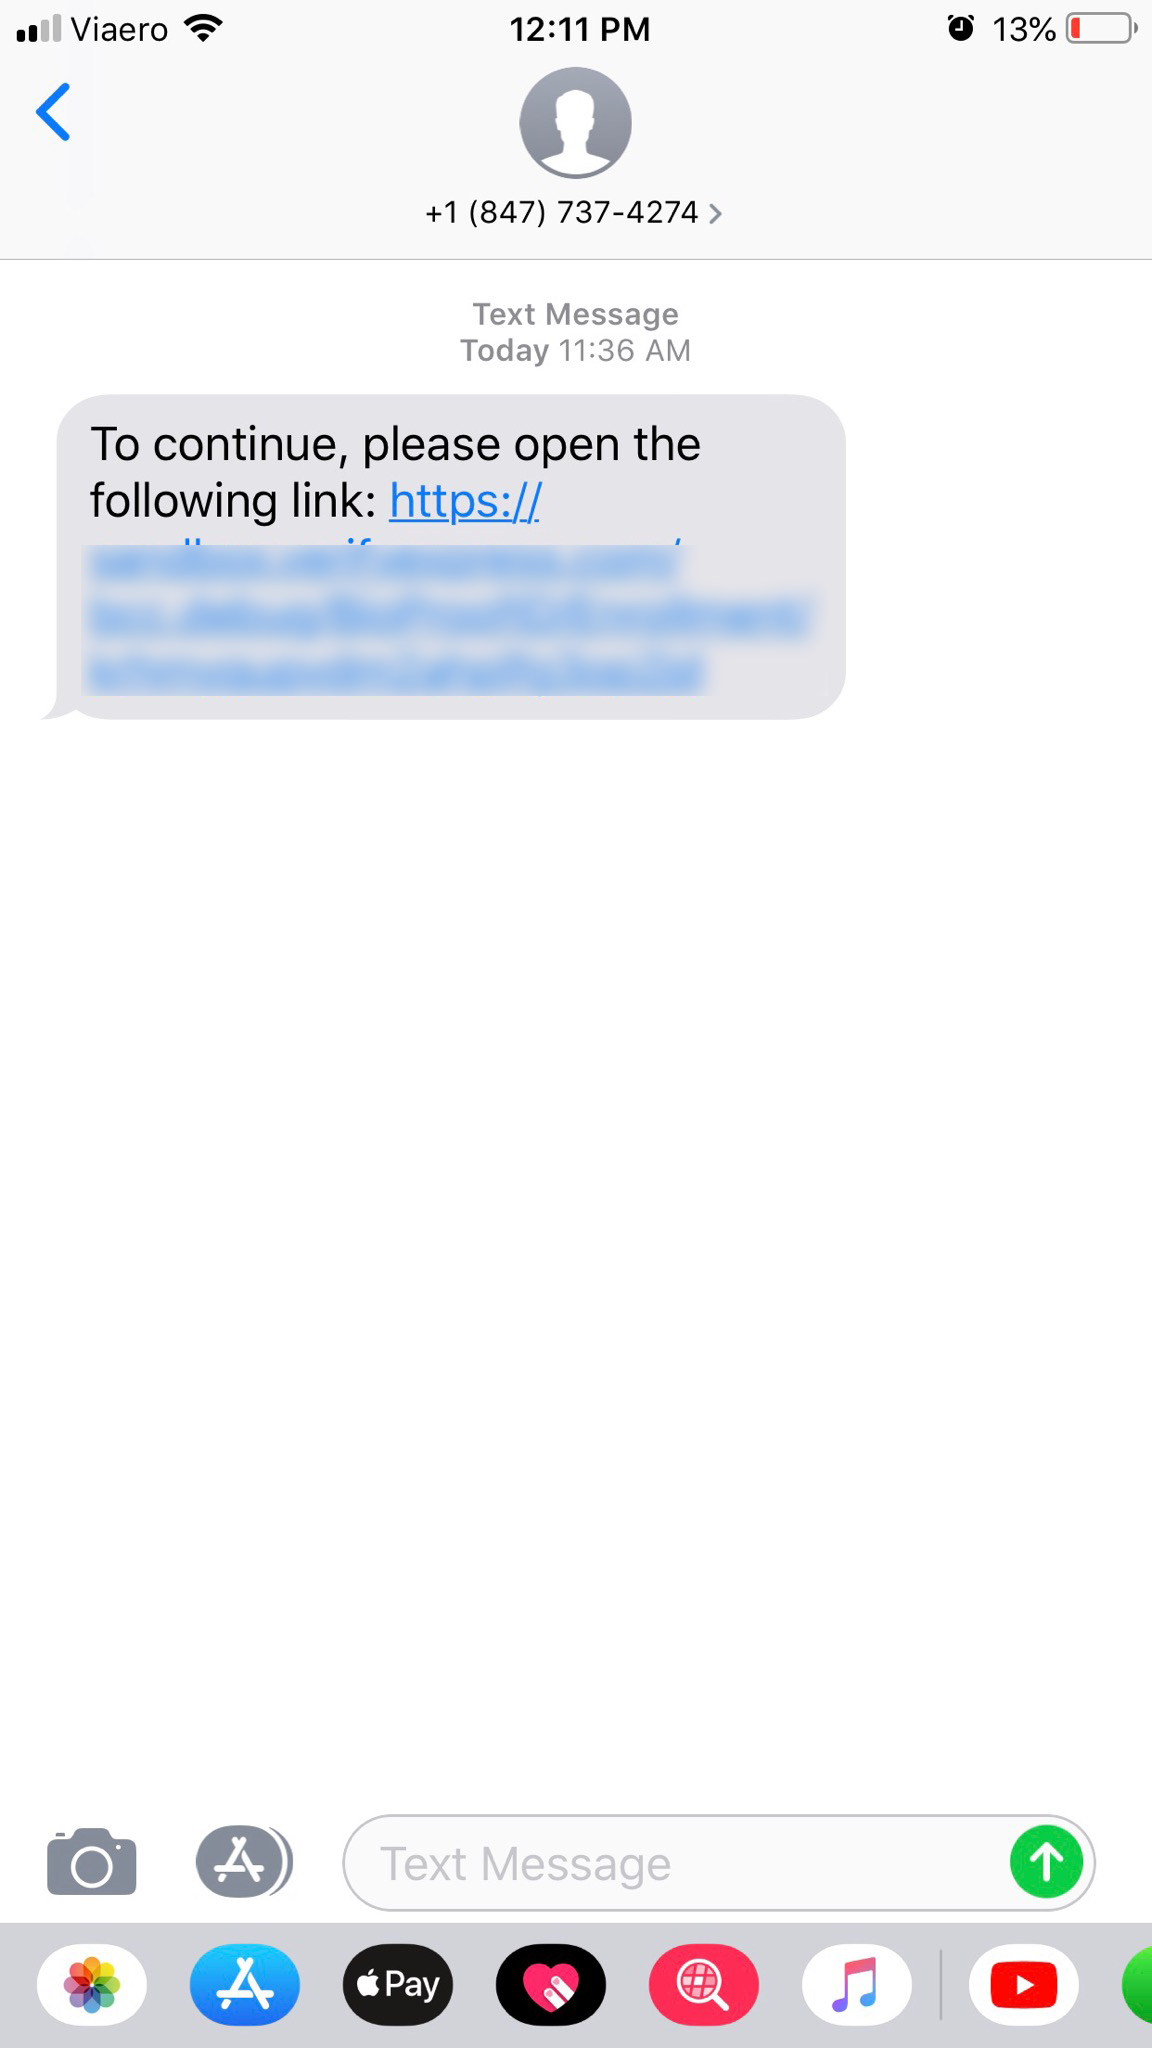
Step 9: Transfer to your phone
Now, transfer to your phone to allow electronic verification of your photo ID.
You must enter a text message-capable phone number to continue.
Then, locate our SMS text with your link to continue.
On Your Mobile Device On Your Computer Transfer to your phone Via SMS.
Step 10: Accept our terms.
After your transfer to your mobile device carefully, read the terms.
When you are ready to agree, tap on "start". If you do not agree, do not continue.
Please visit our Privacy Policy for more information about how your images are stored and used.

Keep the BioSig-ID window open on your computer.
| On Your Computer | On Your Mobile Device |
Step 11: Choose your Document
Next, choose either state-issued driver’s license/identification, or passport.
| On Your Computer | On Your Mobile Device |
Step 12: Photograph the front of your ID.
For this example, we will use a driver’s license.
Touch the box that states "Tap to add the FRONT of your document".

If you need to retake the image any of the following images, click "Retry" within the camera.
Click "Proceed", when you are happy with the following images.
| On Your Computer | On Your Mobile Device |
Step 13: Photograph the back of your ID.
Touch "Tap to add the BACK of your document" to photograph the back of your license.
Images on the computer screen will reflect each step completed.
| On Your Computer | On Your Mobile Device |
Step 14: Take a selfie.
Tap "Take Selfie" to capture your selfie.
| On Your Computer | On Your Mobile Device |
Step 15: Take Liveness.
Touch "Take Selfie" to capture a second selfie. This will prove your images are taken live.
| On Your Computer | On Your Mobile Device |
Step 16:
Validate BioSig-ID to Complete
Draw the BioSig-ID password you created one final time and click the "Validate" to continue.

If something goes wrong during the process you will see a button on your computer screen to create a support ticket.
Step 17. Look for your confirmation.
Once you see "Your identity has been successfully verified" the process is complete.
The confirmation will be sent to the email address you see on this screen, and will only be sent once.
The sender will be no-reply@biosig-id.com.
This ends the process.
Related Articles
Step-by-Step BioProof-ID™ (Article)
The steps to go through an electronic photo-ID check with a mobile device, as part of the BioSig-ID™ enrollment process are as follows. Step 1: Enroll your BioSig-ID Launch the enrollment process for BioSig-ID™ to get to this screen. Next select the ...Step-by-Step BioProof-ID™ (Video)
This video will walk you through the BioProof-ID™ user experience. Before you begin your BioProof-ID enrollment you will need: Your Personal Computer Smart phone or tablet with functional camera A photo-ID matching your name on file with your school ...Step-by-Step Enrollment (Article)
If you are looking for where to enroll a BioSig-ID Password, please return to your course and look for BioSig-ID, or contact your instructor. BSI agents cannot send you an enrollment link. The steps to go through a BioSig-ID™ enrollment, are as ...Step-by-Step BioSightPlus-ID™ (Article)
Introduction: This article addresses the steps to complete an exam with BioSightPlus-ID™. Like our standard BioSight-ID session students are recorded via webcam, however BioSightPlus-ID offers... Crystal clear video Complete audio recording Screen ...Step-by-Step BioSight-ID™ (Article)
This article addresses the steps to complete an exam with BioSight-ID™. Before you begin your BioSight-ID exam: Enroll your BioSig-ID password Check that your camera and microphone are functional. We recommend placing a call in another application to ...