Step-by-Step BioSightPlus-ID™ (Article)
Introduction:
This article addresses the steps to complete an exam with BioSightPlus-ID™.

Like our standard BioSight-ID session students are recorded via webcam, however BioSightPlus-ID offers...
- Crystal clear video
- Complete audio recording
- Screen recording
Please see your schools policy about webcam monitoring before beginning your BioSightPlus-ID session.
If you do not agree to be recorded please contact your institution now! Do not continue!

If your school is also using Safe Exam Browser please also review our SEB article.
Before you begin your BioSightPlus-ID exam:
- Enroll your BioSig-ID™ password
- Check that your camera and microphone are functional.
- We recommend placing a call in another application to a friend or family member to confirm both devices work.
- Ensure that you are on a stable internet connection.
- If you are on Wi-Fi we recommend switching to a hard wired connection to prevent drops in connectivity.
- Ensure your system meets the minimum video card requirements, and update your drivers.

You must be in Microsoft Edge or Google chrome. You cannot use the Blackboard or Canvas
mobile apps.
Cheating policy:
Any questions pertaining to what activities are allowed should be directed to your school.
BioSightPlus-ID does not determine what activities are considered cheating; it merely ranks sessions for instructors to review.
Schools do not generally accept:NotesEatingTalkingEarbudsHelpersLeaving the seatCovering the faceElectronic devices such as phones or tablets
Completing a BioSightPlus-ID exam
Step 1: Locate your exam
Locate your test inside your course.
When you are ready agree to the terms and click "proceed with BioSight-ID".
You must agree to your schools terms to proceed past this point. By clicking continue you agree to be recorded with clear video and clear audio as well as screen recording.
Step2: Launch BioSightPlus-ID Monitoring
A window will pop up.
This window will monitor you throughout your exam.
Closing the BioSightPlus-ID popup after validating your BioSig-ID password will result in a policy violation. Do not close this popup until you are done with your test.
Step 3: Allow Camera and Microphone access
Click "Ready to proceed" and allow access to your camera and microphone.
You will be unable to continue unless your browser can access both camera and microphone.
Step 4: Share your entire screen
Select your entire screen to share.
You will be unable to continue unless you select your entire screen.

Please see our article on how to share your screen.
Step 5: Position yourself in frame
The camera should show your entire face from Chin to top of head.
Make sure that you are in a comfortable position as you will be expected to stay in this spot for the duration of your exam.
When you are happy with your position click "ready to proceed" and switch back to your main window.
Step 6: Green Eye
The eye will remain green as long as you are in frame.
Click "ready to proceed".
 Green eye-con
Step 7: Allowed Materials
Show the front and back of your allowed materials clearly on camera.
These may include blank paper, notes, or a specific calculator. Ensure any text is readable.
If you're unsure what's permitted, ask your instructor before continuing.
Then click "ready to proceed".
The following recordings must meet the minimum length—take your time.
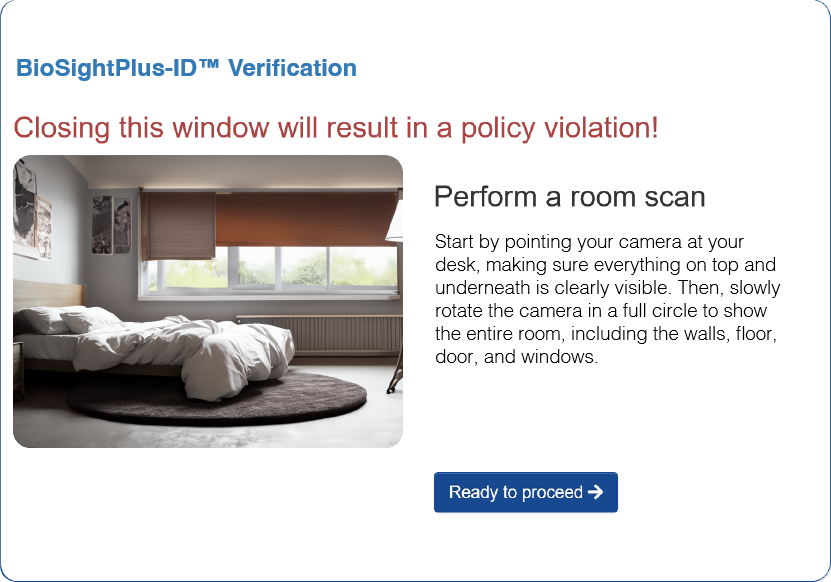
Step 8: Room Scan
Start by pointing your camera at your desk, making sure everything on top and underneath is clearly visible.
Then, slowly rotate the camera in a full circle to show the entire room, including the walls, floor, door, and windows.
Then click "ready to proceed".
If other people are in your room ask them to leave before you preform this step, unless you have institution approval for an assistant.
 Room Scan
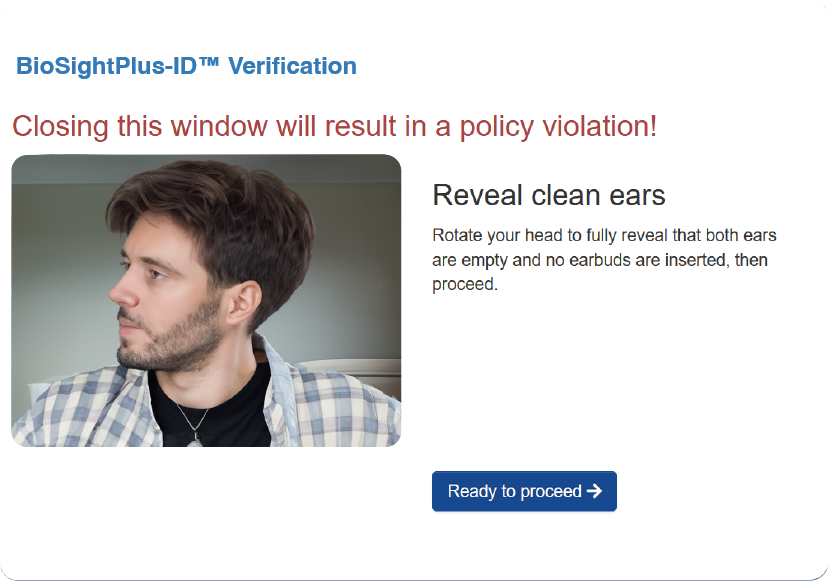
Step 9: Reveal Clean Ears
Show the camera both your right and left ear.
You should not have earbuds in unless permitted by your instructor.
When done click "ready to proceed".
 Reveal clean ears
Step 10: Additional Resources
Per your institution's policy additional steps might show at this stage.
Please follow the instructions as provided.
Click Ready to proceed when completed.
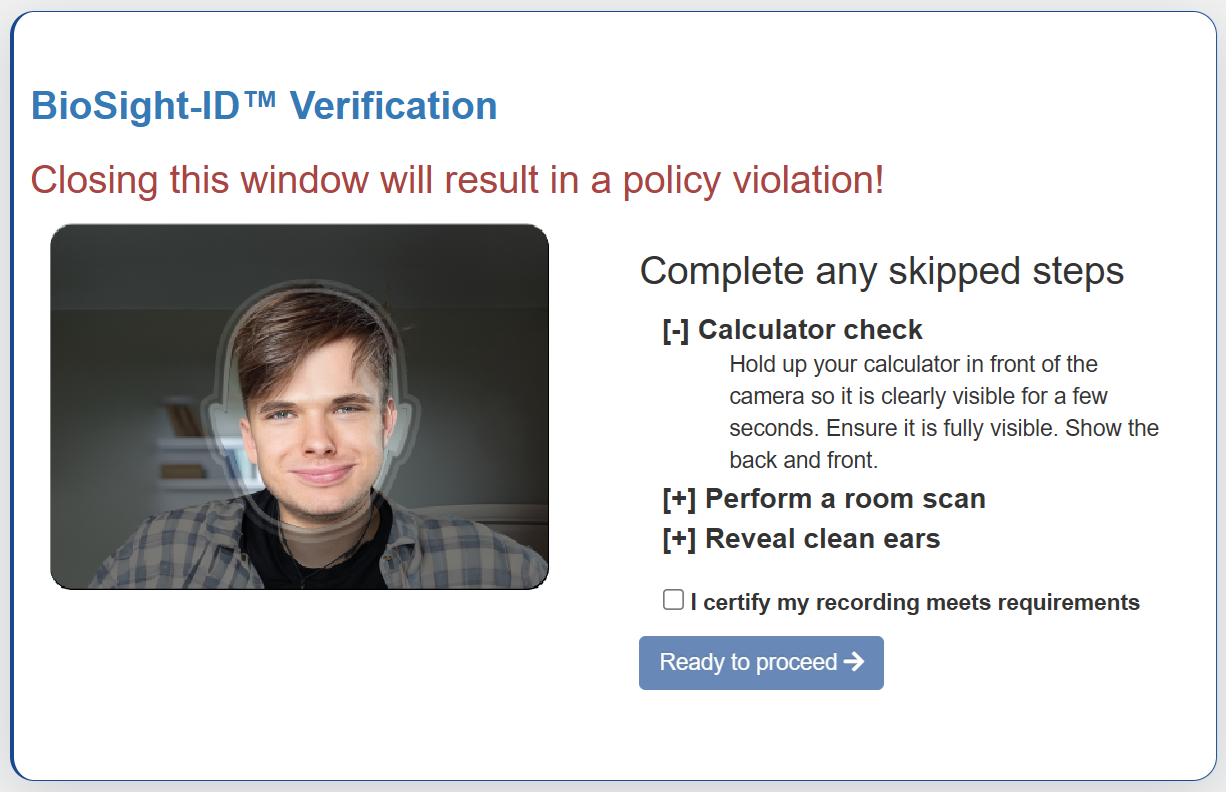
Step 11: Review Steps
At this stage you will be given a second chance to complete any skip wizard steps.
Click the "+" to expand instructions for prior steps.
When you are confident you have met all requirements tick the checkbox "I certify my recordings meet requirements" and click "Ready to proceed".
 Review Wizard Steps
Step 11: Validate your BioSig-ID password
Switch back to your main window.
Successfully validate your BioSig-ID password.
You will then be permitted to access your exam.
If you are unable to validate your BioSig-ID password please visit our reset article.
Step 12. Complete the test before closing
Once you have submitted the answers to your test you may close the BioSight-ID popup window via the X button.
Related Articles
Step-by-Step BioProof-ID™ (Article)
The steps to go through an electronic photo-ID check with a mobile device, as part of the BioSig-ID™ enrollment process are as follows. Step 1: Enroll your BioSig-ID Launch the enrollment process for BioSig-ID™ to get to this screen. Next select the ...Step-by-Step Enrollment (Article)
If you are looking for where to enroll a BioSig-ID Password, please return to your course and look for BioSig-ID, or contact your instructor. BSI agents cannot send you an enrollment link. The steps to go through a BioSig-ID™ enrollment, are as ...Step-by-Step BioSight-ID™ (Article)
This article addresses the steps to complete an exam with BioSight-ID™. Before you begin your BioSight-ID exam: Enroll your BioSig-ID password Check that your camera and microphone are functional. We recommend placing a call in another application to ...Step-by-Step BioSightPlus-ID™ (Video)
This video addresses the steps to complete an exam with BioSightPlus-ID™. Before you begin your BioSightPlus-ID session make sure you are inside of Google Chrome or Microsoft Edge. If you are not in the required browser you will be blocked. Do not ...Step-by-Step BioProof-ID™ for Financial Student Aid (Article)
These steps go through an electronic photo-ID check with a mobile device, as part of the BioSig-ID™ enrollment process for financial student aid. You will need one of the following forms of ID: Passport State ID Millitary ID ( submitted as a passport ...